

One-Side Wrap Done Right: How to Avoid the “Half-Finished” Look


You can get a clean, professional look with the right way to do one-side wraps. Focus on good design, choose strong materials, and use careful ways to put it on. These steps help your wrap look finished and planned. The title One-Side Wrap Done Right: How to Avoid the “Half-Finished” Look reminds you that small details matter a lot. Anyone can get a neat finish with the right help.
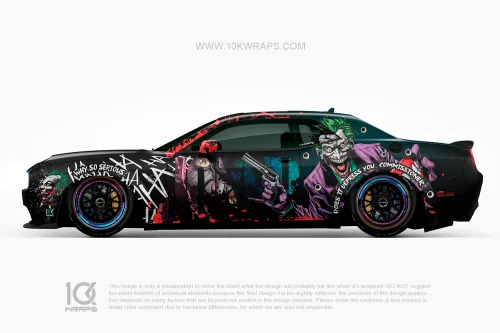

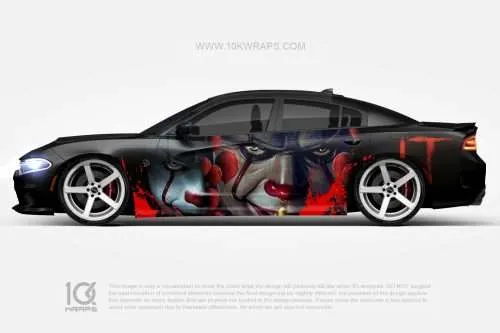
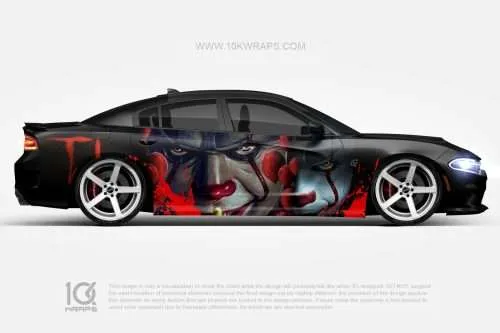
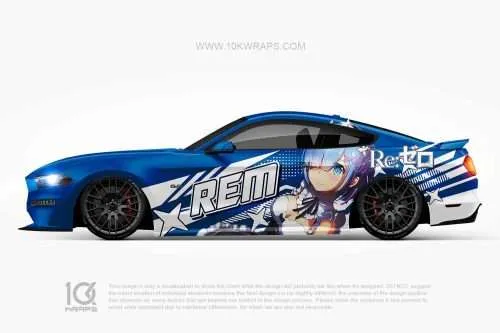
Key Takeaways
-
Think about your design before you start. This helps your wrap look even and planned. – Use bold graphics to make one area stand out. This helps people know where to look first. – Make sure the back and hood match the wrapped side. This makes your car look like one complete design. – Pick good materials so the wrap does not peel or bubble. – Put on the wrap in a clean way. This helps it look smooth and neat. – You can add extra details to the hood and back. This makes the whole design look better. – Pick colors that go well with your car’s paint. This gives your car a nice, finished look. – Clean and take care of your wrap often. This keeps it looking bright and new.
Why One-Side Wraps Fail
Balance and Focal Point
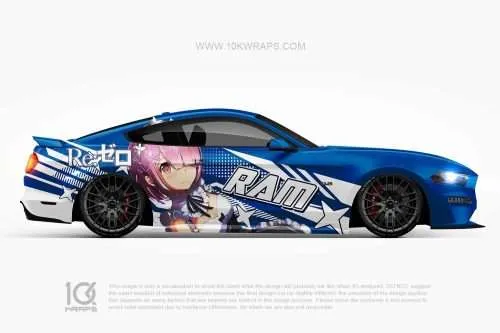
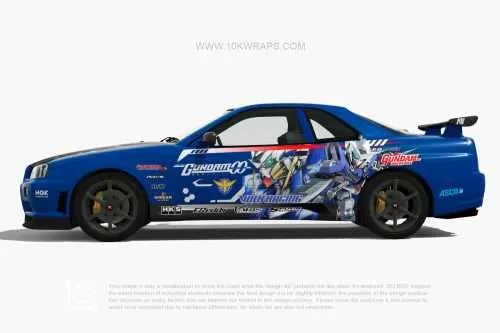
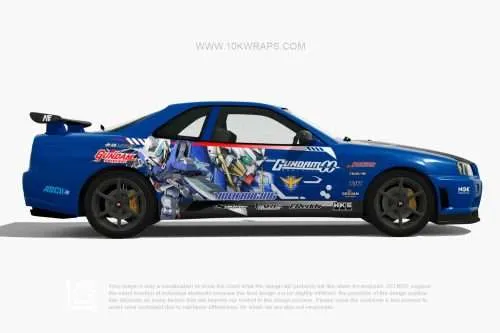
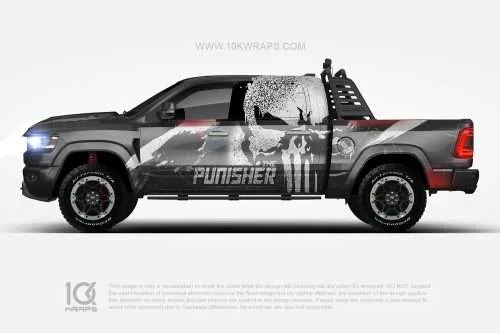
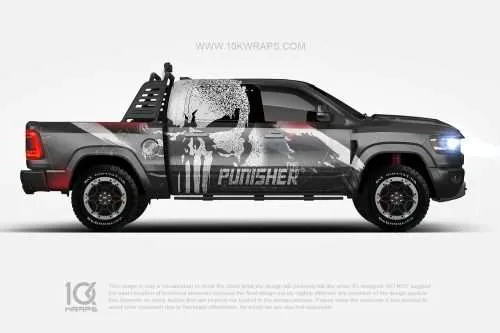
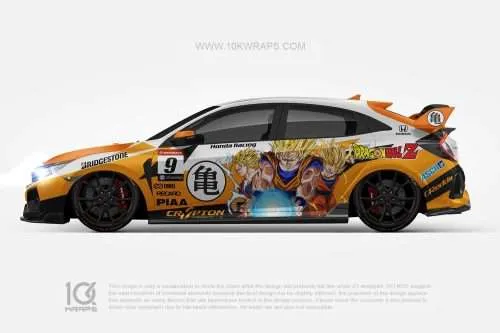
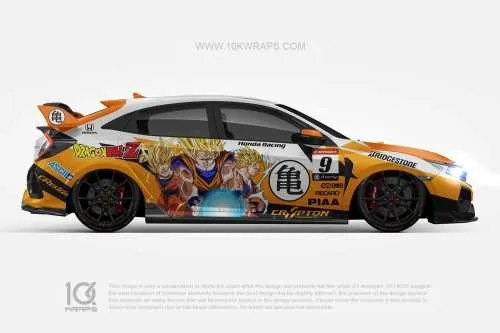
You want your vehicle wrap to look intentional, not accidental. When you choose a one-side wrap, balance becomes very important. If you only wrap one side without thinking about the whole vehicle, the design can feel lopsided. Your eyes might not know where to focus. A strong focal point helps guide attention and makes the wrap look like a planned feature, not a mistake. Without a clear focal point, the design can seem random or unfinished. You should always plan where you want people to look first. This helps your wrap stand out for the right reasons.
Tip: Use bold graphics or a main image on the wrapped side to create a clear focal point.
Rear and Hood Mismatch
Many wraps fail because the rear and hood do not match the design on the wrapped side. This mismatch can make the vehicle look incomplete. You might notice several visual issues when the rear and hood do not connect with the one-side wrap:
-
Imperfections become more noticeable when the rear and hood do not match the wrap design.
-
The surface quality under the wrap affects how well the wrap sticks and how it looks. Poor surfaces can cause visual differences.
-
Peeling clear coat can lead to adhesion problems, making mismatches even more obvious.
When you ignore these areas, the wrap can look like a patchwork instead of a finished product. You should always check the condition of the rear and hood before starting. Even small accents or color touches on these panels can help tie the whole look together.
Common Mistakes
Many people make the same mistakes with one-side wraps. They might rush the design or skip planning. Some forget to check how the wrap looks from all angles. Others use low-quality materials or do not finish the edges neatly. These mistakes can make the wrap peel, bubble, or look sloppy. You should always use quality materials and take your time with the application. Neat finishing and a cohesive design help your wrap look professional.
A successful wrap follows the ideas in One-Side Wrap Done Right: How to Avoid the “Half-Finished” Look. You need to plan your design, balance the visual weight, and make sure all parts of the vehicle work together. This way, your wrap will look polished and intentional.
One-Side Wrap Done Right: Avoiding the “Half-Finished” Look
Intentional Design Choices
You want your wrap to stand out. It should not look like you forgot something. Use strong design ideas to make it look finished. Emphasis helps you show what is most important. You can use a big logo or a bright color. This draws people’s eyes to one spot. Balance keeps your wrap from looking uneven. Symmetry gives a classic style. Asymmetry looks modern and exciting. Contrast makes your design pop out. Light colors on dark backgrounds look bold. Sharp lines next to smooth shapes add interest. Repetition helps everything fit together. If you repeat colors or shapes, your wrap looks planned.
Always plan your layout before you start. Draw your ideas or use a computer to see them. Think about how your design will move from one side to the rest. Every choice should be made on purpose. The title reminds you that small details matter. When you use these ideas, your wrap looks finished.
Tip: Put your main graphic where people will see it first, like in the middle of the door or on the biggest panel. Use small accents to balance the other parts.
Material and Color Selection
Pick good materials and colors for a neat look. Experts suggest different vinyl wraps for different styles. Chrome wraps and mirror finishes stand out. Matte black, satin charcoal, and gunmetal gray look cool and quiet. Satin finishes look fancy but not too bright. Dark blues and soft silvers are good for a classy look. If you drive every day, factory colors like shiny silver or deep black are easy to clean. Matte and satin wraps are good for tough vehicles because they hide dirt and scratches.
Experts suggest many vinyl wrap types and color mixes for a neat look. Chrome wraps and mirror finishes stand out. Matte black, satin charcoal, or gunmetal gray look cool and quiet. Satin finishes look fancy but not too bright. Dark blues and soft silvers are good for a classy look. For daily cars, shiny silver or deep black are easy to clean. Matte and satin wraps are good for tough vehicles because they hide dirt and scratches.
Match your wrap color to your car’s paint or trim. This helps your wrap blend in and look like it belongs. If you want your wrap to stand out, pick a color that is very different from your paint. For a soft look, choose a color close to your car’s shade. The right material and color make your wrap look professional and help you avoid the “half-finished” look.
Clean Application Techniques
Use careful steps to get a smooth wrap. Even the best design will not look good if you do not put it on right. Clean your car very well before you start. Dirt and grease stop the wrap from sticking. Cut your vinyl a little bigger than you need. This lets you fix it as you work. Use slip solution to move the wrap before it sticks.
Here are steps experts use for a clean finish:
-
Push out bubbles with a squeegee to keep it smooth.
-
Use a heat gun to help the vinyl fit curves and edges.
-
Cut edges with a sharp blade for clean lines.
-
Fold the vinyl around edges to seal them and stop peeling.
-
Use heat to make the glue stick well.
-
Press evenly so the wrap does not stretch or change shape.
-
Clean every part of the car before you start.
-
Cut the vinyl a bit bigger so you can trim it perfectly.
-
Use slip solution to move the wrap before pressing it down.
Check your work as you go. Fix bubbles or wrinkles right away. Take your time with edges and corners. Mistakes show up most in these spots. If you use these steps, your wrap will look smooth and last longer.
The title One-Side Wrap Done Right: How to Avoid the “Half-Finished” Look is more than a goal. It is a process. You need to plan your design, pick good materials, and use careful steps. If you do all these things, your wrap will look sharp, professional, and complete.
Five Effective Layouts
Hero Graphic on One Side
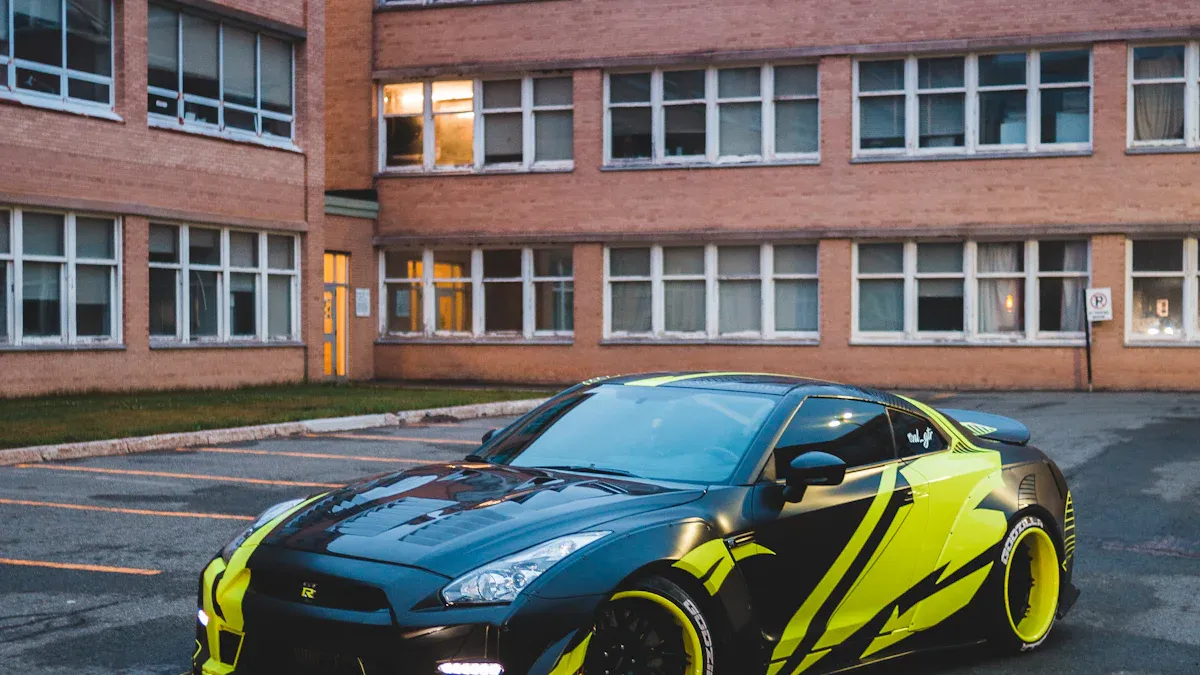
You can help your vehicle get noticed by putting a hero graphic on one side. This layout uses a big, bold picture or design as the main part. You might pick a bright photo, a colorful drawing, or a cool pattern. Put this graphic on the biggest panel, like the driver’s door or the side of a van. This grabs attention and gives your wrap a clear main spot. People will see your vehicle right away. A hero graphic is good for businesses that want to show off a product, mascot, or brand message. You can also use this style for your own car if you want to show your interests or personality.
Tip: Make sure your hero graphic is clear and fits the panel well. This stops it from looking stretched or blurry.
Subtle Counterpart Design
A subtle counterpart design helps balance the strong hero graphic. You can add small accents or patterns to the other side of the vehicle. These accents do not fight with the main graphic. They support it and make the wrap look planned. For example, you might use a thin stripe, a small logo, or a soft color fade on the side without the big graphic. This keeps the design from looking uneven. It also helps connect both sides, even if only one side has a big graphic.
-
Use matching colors or shapes for a look that fits together.
-
Put small details on the rear or hood to tie the look together.
-
Do not add too many details or the design will look crowded.
A subtle counterpart design is good if you want a neat look without wrapping the whole vehicle. It shows you thought about every side.
Diagonal and Asymmetrical Styles
Diagonal and asymmetrical layouts give your wrap a new and lively look. You can use slanted lines, shapes, or flowing patterns that move across the panels. These styles make your vehicle look like it is moving, even when parked. Many designers use color fades, gold lines, or cool overlays to make the wrap exciting.
-
The diagonal and uneven flow adds a modern and lively feel.
-
Geometric overlays make the vehicle look like it is moving and new.
-
Flowing gold lines make it look fancy and fast.
-
Dynamic shapes and color fades make the vehicle look like it is in motion.
You can use these styles to make your vehicle look fast, fresh, and different. Diagonal and asymmetrical wraps are great for sports cars, delivery vans, or any vehicle that needs to stand out. When you use these layouts, you follow the ideas in One-Side Wrap Done Right: How to Avoid the “Half-Finished” Look. Your wrap will look planned and stylish.
Minimalist Accent Stripes
You can give your vehicle a modern look with minimalist accent stripes. These stripes use simple lines and shapes to add style without covering the whole side. You might choose one bold stripe or a few thin lines. Place them along the lower edge of the doors or just above the wheel wells. This layout works well if you want a clean design that still stands out.
Accent stripes help guide the eye along the length of your vehicle. They can make your car look longer or lower. You can use colors that match your paint for a subtle effect. You can also pick a bright color for a pop of contrast. Many people like matte black, silver, or red stripes because they look sharp on most vehicles.
Tip: Use stripes to highlight body lines or special features. This draws attention to the shape of your car.
Minimalist stripes do not distract from other graphics or logos. They work well with hero graphics or branding elements. You can add stripes to one side or both sides for balance. If you want a simple upgrade, accent stripes are a smart choice.
Branding and Logo Placement
You want your brand to stand out on the road. Good logo placement helps people remember your business. Place your logo in high-visibility spots. The side doors, rear, and hood work best. These areas get the most attention from drivers and people walking by.
Make sure your logo looks clear from different angles and distances. A large, bold logo is easy to see. Keep the size right for your vehicle. Do not make the logo too small or too big. Avoid putting logos on curved parts. Curves can stretch or distort the image.
You can pair your logo with a short tagline. This gives people more information about your business. Use simple fonts and strong colors for both the logo and tagline. This makes your message easy to read.
-
Place your company name and phone number on both sides and the rear. This helps people contact you no matter which way they see your vehicle.
-
Keep all branding elements neat and spaced out. Crowded designs are hard to read.
-
Use matching colors for your logo, stripes, and other graphics. This creates a unified look.
Note: A well-placed logo and clear contact details turn your vehicle into a moving billboard. You reach more people every time you drive.
When you follow these tips, your one-side wrap will look professional and help your brand get noticed.
Bridge Elements for Visual Flow
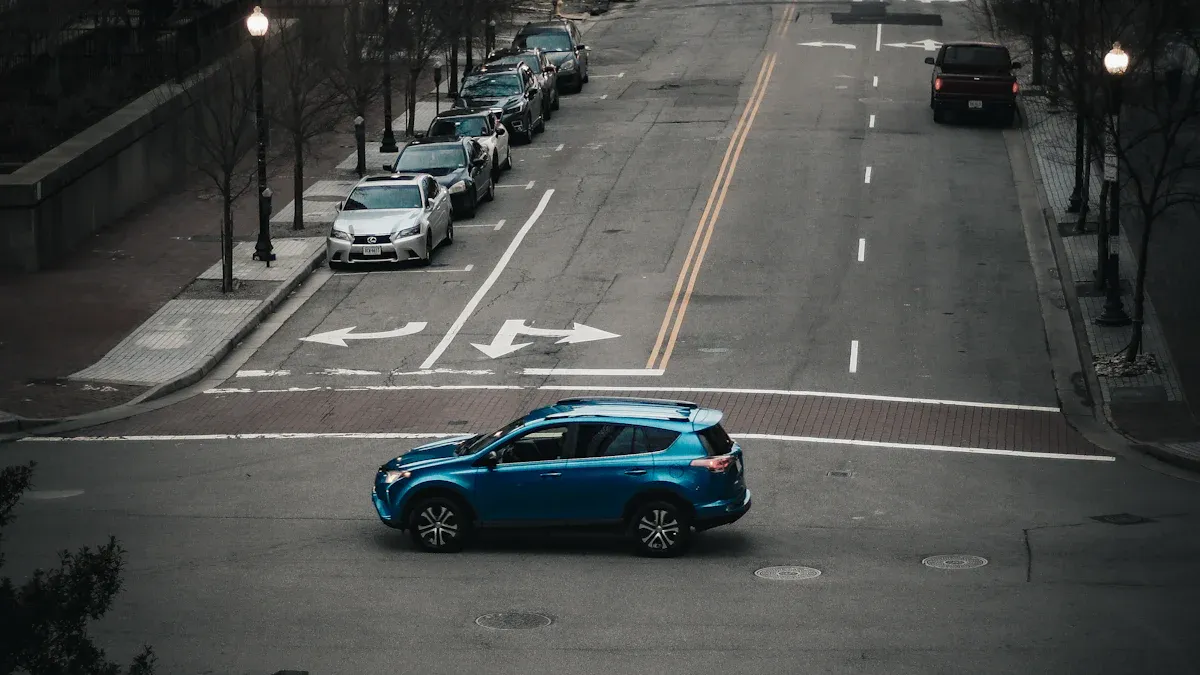
When you wrap only one side of your vehicle, you can use bridge elements to connect the design across the whole car. These elements help your wrap look complete and intentional. You can use accents on the rear, hood, or with color transitions to guide the eye and create unity.
Rear Accent Connections
You can add rear accent connections to tie the wrapped side to the back of your vehicle. These accents might include stripes, shapes, or small graphics that echo the main design. Place a thin stripe or a matching color block on the rear bumper or tailgate. This draws attention from the side to the back. You can also use a logo or a small pattern that matches the main wrap. This makes the design look like it wraps around the vehicle, even if only one side is fully covered.
Tip: Use the same color or style for rear accents as you used on the wrapped side. This keeps the look consistent and avoids a patchy appearance.
Hood Accent Extensions
Hood accents can help your wrap flow from one side to the front. You have many options for hood accents. Think about your goal and how much you want to customize. Your budget matters because some techniques cost more than others. You also need to know what tools and skills you have.
-
You can use a carbon fiber effect vinyl wrap for bold stripes on the hood.
-
Add purple pinstripes for a pop of color and contrast.
-
Make sure your design balances texture and color for a smooth look.
If you want a step-by-step approach, try this:
-
Choose a main stripe or graphic for the hood that matches your side wrap.
-
Add thin pinstripes in a bright color to highlight the main design.
-
Check that the colors and textures work well together.
These steps help your wrap look like one big design, not just a sticker on one side.
Cohesive Color Transitions
Color transitions can blend the wrapped side with the rest of your vehicle. You can use a gradient or a fade that starts on the wrapped side and moves across the panels. This softens the edge between the wrap and the paint. You might choose a color that gets lighter or darker as it moves toward the unwrapped side. You can also use a repeating pattern or a series of shapes that shrink or fade out.
A smooth color transition makes your wrap look like it belongs on your car. It helps the design flow from one area to another. When you use bridge elements, you create a wrap that feels finished and professional.
Placement Rules and Panel Planning
Door and Quarter Panel Guidelines
You want your wrap to look smooth and last a long time. When you wrap doors and quarter panels, you need to follow some important steps. Start by cutting each piece of vinyl 4 to 6 inches longer than the panel. This extra length gives you room to adjust and makes sure you can wrap around the edges. Keep even tension as you peel away the backing paper. This helps you avoid wrinkles and air bubbles. Drape the vinyl carefully by pulling both sides outward at the same time. This keeps the film flat and smooth.
Begin applying the vinyl from the center of the panel. Use your hands to press it down gently, then work outwards. A squeegee held at a 45° angle helps you remove air and smooth out creases. If you see any imperfections, lift the film from a nearby edge, stretch it gently, and use a little heat to reset the vinyl. Always secure the edges tightly. This step prevents the vinyl from lifting and helps your wrap last longer.
Tip: Take your time with each panel. Careful work now means fewer problems later.
Avoiding Artwork Cuts
You want your design to stay sharp and clear. To avoid cutting into important artwork, start with a template that matches your vehicle. This helps you see where doors, handles, and seams will fall. Keep key graphics and logos away from the edges. If you place them too close, you risk cutting into them when you trim the vinyl. Always plan for bleed areas—extend your design 3 to 4 inches past the panel edges. This extra space lets you trim without losing any important parts of your artwork.
-
Use a vehicle template for accurate planning.
-
Place main graphics away from panel edges.
-
Add 3–4 inches of bleed around critical areas.
This careful planning keeps your design looking just as you imagined.
Seam and Edge Alignment
Seams and edges need special attention. If you do not seal them well, the wrap can lift or peel over time. Use heat, edge seal tape, or a sealant pen to lock down the edges. Heat treating the seams helps the vinyl bond tightly, especially around curves and corners. Pay close attention to curves and edges. These spots can create stress points where the vinyl might pull away. Professional installers know how to relieve tension and align seams for a clean finish.
-
Seal edges with heat, tape, or sealant pens.
-
Use heat to bond vinyl on curves and contours.
-
Align seams with care to avoid stress points.
When you follow these steps, your wrap will look neat and last longer. Good seam and edge work make your one-side wrap look truly professional.
Budget Tiers and Add-On Panels
Entry-Level vs. Premium Options
You can choose from different budget levels when planning your one-side wrap. Entry-level options give you a clean look at a lower price. These usually include a single-side wrap with basic colors or simple graphics. You get neat edges and a smooth finish. This tier works well if you want to refresh your vehicle’s style without spending too much.
Premium options offer more features and a custom look. You can add special finishes like matte, satin, or chrome. Premium wraps often include extra design work, such as layered graphics or textured vinyl. You may also get ceramic coating for long-lasting protection and a glossy shine. Premium packages often cover more panels, like the hood or rear, for a seamless appearance.
|
Tier |
What’s Included |
Best For |
|---|---|---|
|
Entry-Level |
One-side wrap, basic color, neat finish |
Budget-conscious owners |
|
Premium |
Custom finishes, extra panels, protection |
Show cars, businesses |
Tip: Choose the tier that matches your goals and how much you want to invest.
Add-On Panel Strategies
You can make your wrap look more complete by adding panels. Start with high-impact areas. The hood, rear, and side mirrors draw attention and help connect the design. Carbon fiber wraps on the hood or roof add a sporty touch. Small accents on the trim or bumpers can tie the look together.
-
Hood accents
-
Rear bumper graphics
-
Roof wraps
-
Side mirror covers
-
Trim stripes
These add-ons help your wrap flow across the vehicle. You do not need to wrap the whole car to get a finished look. You can also use subtle color fades or matching stripes to link the wrapped side with other panels.
Cost-Effective Upgrades
You can upgrade your vehicle’s look without a full wrap. Simple accessories, like decorative air fresheners or custom steering wheel covers, add personality. Carbon fiber wraps for the hood, roof, or mirrors give a high-end feel at a lower cost. Ceramic coating protects your wrap and keeps it looking new.
Here are some upgrades that give you the best value:
-
Remote start systems for comfort
-
Heated seats for added value
You can mix and match these upgrades based on your needs. Small changes can make your vehicle stand out and feel more complete.
Note: You do not need to spend a lot to get a polished look. Smart add-ons and careful planning help you get the most from your budget.
Minimum Panels Checklist
Essential Coverage Areas
You want your one-side wrap to look finished and eye-catching. Covering the right panels makes a big difference. Here is a checklist of the most important areas to include:
-
Roof
A partial wrap on the roof adds style and helps your vehicle stand out. Even a small accent on the roof can make the whole design feel more complete. -
Hood
The hood draws attention right away. Use this space for bold graphics or color blocks. A wrapped hood connects the front of your vehicle to the side design. -
Side Panels
Wrapping the side panels creates a strong visual effect. This area gives you the most space for graphics, logos, or patterns. Make sure your main message or image sits here. -
Trunk
The trunk offers a spot for personal touches or branding. You can add a logo, tagline, or accent color. Wrapping the trunk also protects the original paint.
Tip: Covering these panels helps your wrap look intentional, not random. You do not need to wrap every inch, but these areas give you the best results for a one-side design.
Planner for Cohesion
A good wrap does more than cover panels. You want every part to work together. Use this planner to keep your design unified and professional:
-
Match your wrap colors to your brand or personal style. Consistent colors help people recognize your vehicle.
-
Use the same fonts and logo style on every panel. This keeps your message clear and easy to read.
-
Plan your design before you start. Sketch your ideas or use design software to see how everything fits.
-
Make sure your wrap matches your company’s values and visual style. This shows you care about details.
-
Coordinate with your installer. Good planning helps the design, production, and installation go smoothly, especially if you have more than one vehicle.
Note: Consistency builds trust. When your wrap looks the same on every panel, people remember your brand and message.
A checklist and planner help you get the most from your one-side wrap. Cover the key panels and plan for cohesion. Your vehicle will look polished and professional every time it hits the road.
Pro Tips and Upsell Ideas
Finishing Touches
You can make your one-side wrap look even better with a few smart finishing touches. Start by checking every edge and corner. Smooth out any bubbles or wrinkles with a squeegee. Use a heat gun to seal the vinyl around tight spots. Clean the wrap with a gentle soap and water. This keeps the colors bright and the surface shiny.
Add small details for a custom look. Pinstripes, decals, or reflective accents can highlight your design. You might choose a matte or gloss overlaminate for extra protection. This layer helps your wrap last longer and makes cleaning easier. Always check your wrap in sunlight. This helps you spot any missed spots or uneven lines.
Tip: Take photos from different angles. This helps you see how your wrap looks on the road.
When to Get Professional Help
Sometimes, you need an expert to get the best results. You should think about professional help if you want a complex design or a full vehicle wrap. Professionals have the right tools and know the best techniques. They can finish the job quickly and neatly.
You can avoid common mistakes by working with a pro. Wrinkles, bubbles, or misaligned graphics can ruin a wrap. Experts know how to prevent these problems. Here are some reasons to call a professional:
-
You want a complex or custom design.
-
You need a full vehicle wrap.
-
You want a perfect finish with no errors.
-
You do not have the right tools or space.
-
You want to save time and avoid stress.
A professional installer can give you peace of mind. You get a wrap that looks sharp and lasts longer.
Upsell: One-Side + Hood/Rear Accent Bundle
You can boost your vehicle’s style with a bundle that includes a one-side wrap plus hood or rear accents. This package gives your car a more complete and polished look. The hood and rear are high-visibility spots. Adding accents here helps connect the design and draws more attention.
|
Bundle Option |
What You Get |
Best For |
|---|---|---|
|
One-Side + Hood Accent |
Side wrap plus hood graphics |
Sporty or bold styles |
|
One-Side + Rear Accent |
Side wrap plus rear bumper design |
Business branding |
|
Full Accent Bundle |
Side, hood, and rear accents |
Show cars or fleets |
Note: Bundles save you money compared to adding each accent later. You get a unified look and more value for your investment.
You can ask your installer about bundle deals. This is a smart way to get a standout vehicle without a full wrap.
You can achieve a polished one-side wrap by following a few key steps:
-
Plan your design before you start.
-
Focus on balance and clear focal points.
-
Pay attention to every detail during installation.
Use the checklist and pro tips to guide your project. A well-planned wrap stands out and looks professional. Try a one-side wrap or add accent panels for a complete, eye-catching look.
FAQ
Is a one-side wrap legal on public roads?
You can use a one-side wrap in most places. Laws may differ by state or city. Always check local rules before you wrap your vehicle. Make sure your wrap does not cover lights, license plates, or windows.
Will a one-side wrap affect my visibility while driving?
A one-side wrap does not block your view if you keep it off windows and mirrors. You should avoid wrapping over glass or safety features. Always check your wrap after installation to make sure you can see clearly.
Does a one-side wrap lower my car’s resale value?
A well-installed wrap can protect your paint. You may keep your car’s value or even raise it if the wrap looks good. Remove the wrap before selling if the buyer wants the original color.
Can I add more panels or accents later?
You can add more panels or accents at any time. Many people start with one side and add hood, roof, or rear accents later. This lets you update your look or match new branding.
How do I clean and care for my one-side wrap?
Wash your wrap with mild soap and water. Avoid harsh brushes or strong chemicals. Dry with a soft towel. Regular cleaning keeps your wrap bright and helps it last longer.
Will a one-side wrap fade or peel over time?
Quality wraps last for years if you care for them. Sun, rain, and dirt can cause fading or peeling. Park in the shade and wash your car often to protect your wrap.
Can I remove a one-side wrap myself?
You can remove a wrap with heat and patience. Use a heat gun or hair dryer to soften the vinyl. Peel slowly to avoid damage. If you feel unsure, ask a professional for help.
Do I need to tell my insurance company about my wrap?
You should tell your insurance company about any changes to your vehicle. Some companies may want photos or details. This helps you get the right coverage if you have an accident.


