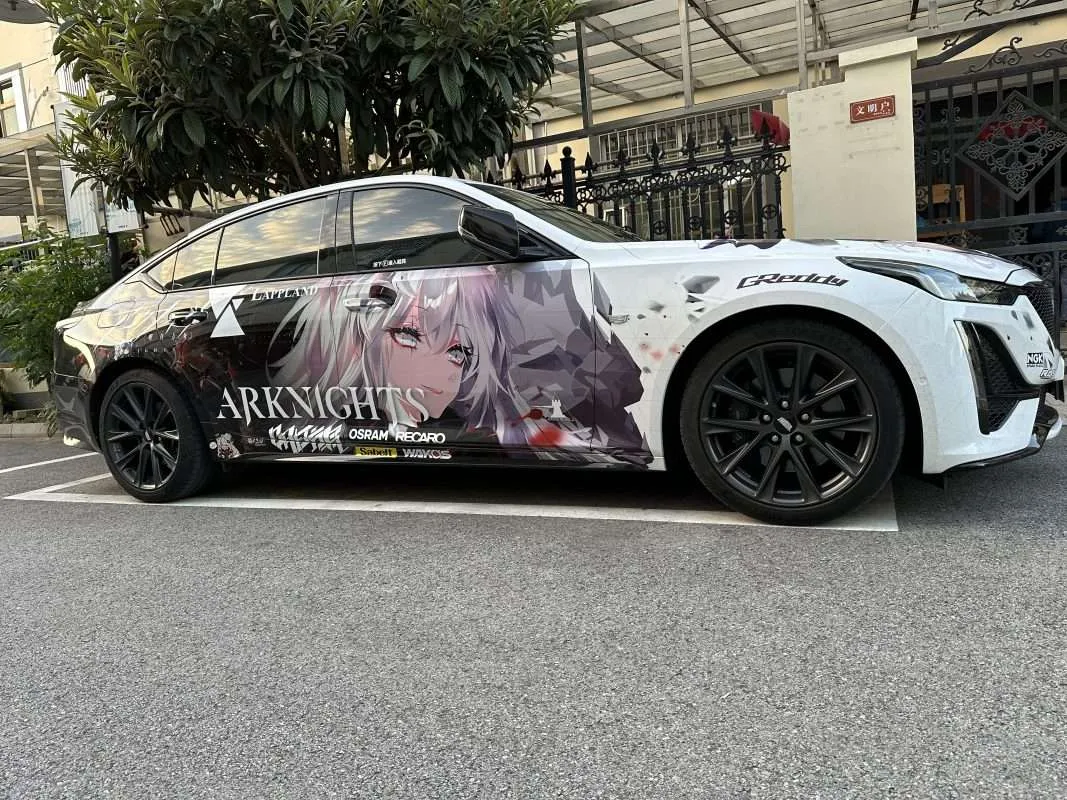
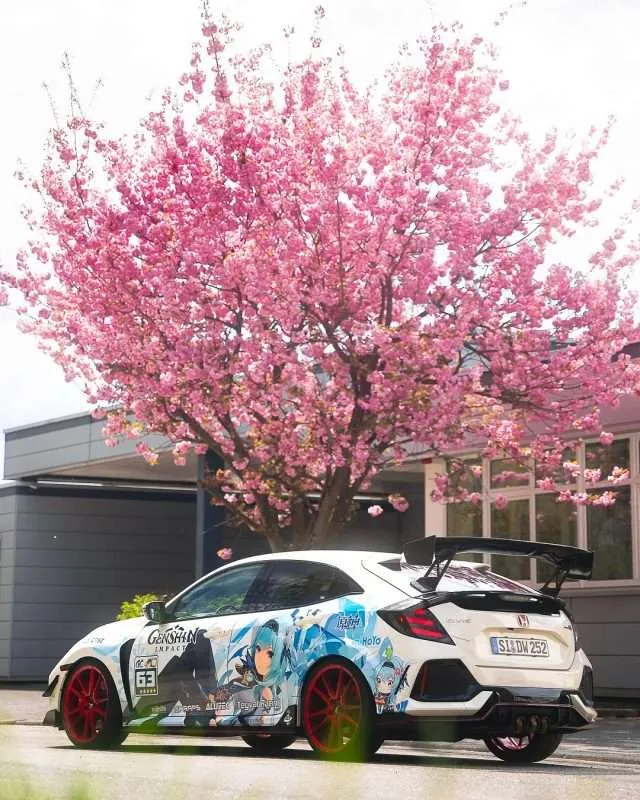
Birthday Surprise Idea! Glowing EVA Unit-01 Car Decal DIY Tutorial


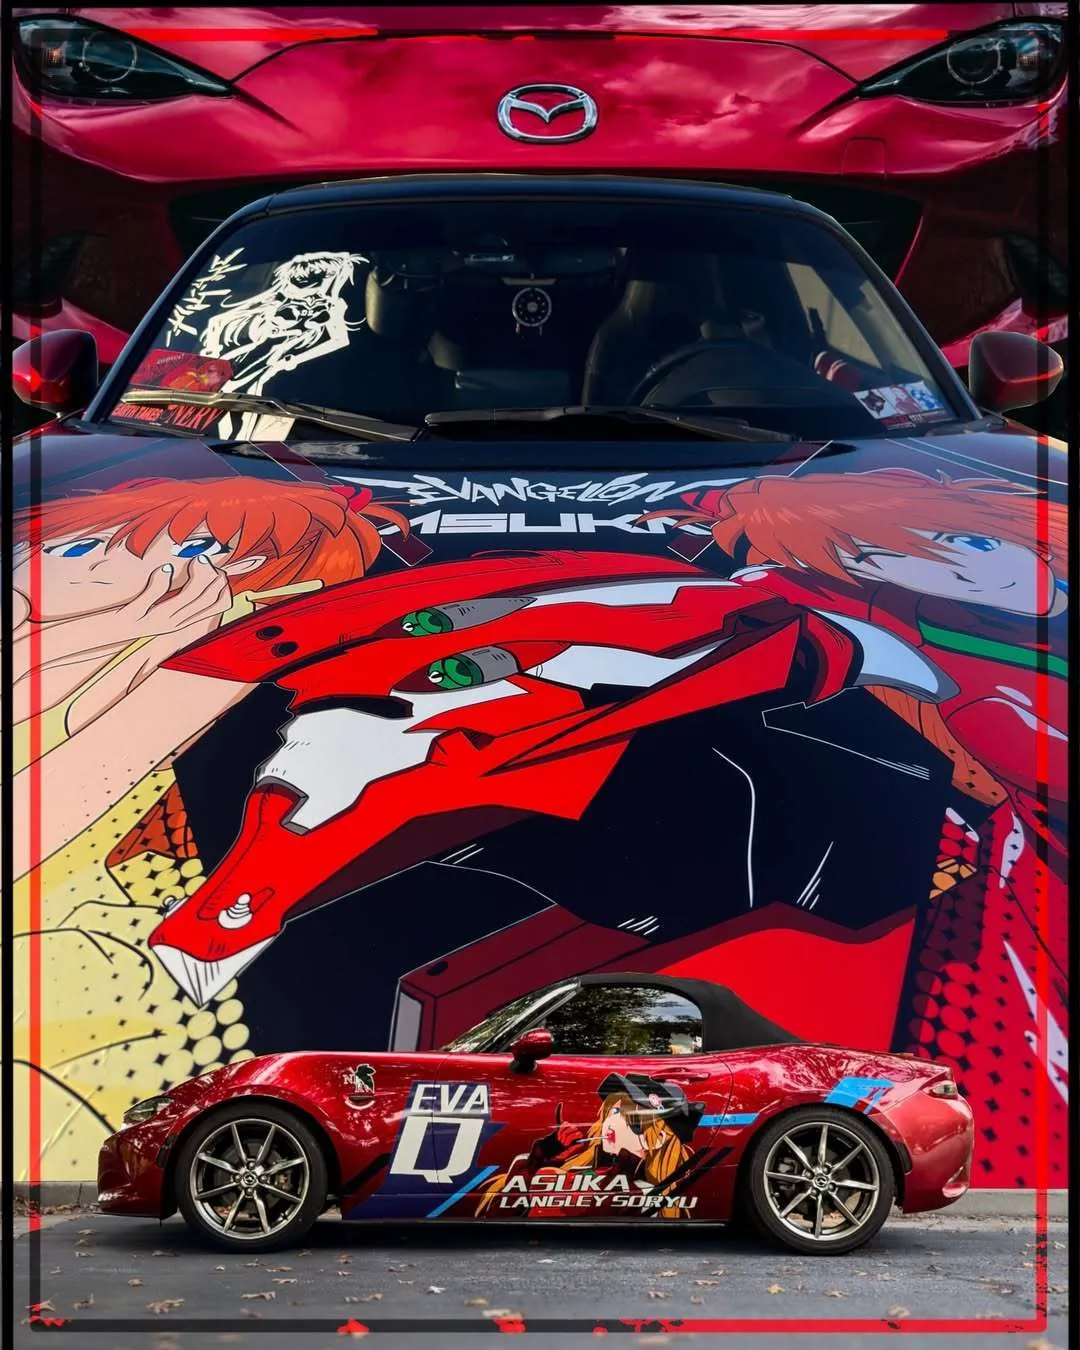
Looking for a birthday surprise idea that’s both unique and personal? A glowing EVA Unit-01 car decal might just be the perfect choice. It’s not just a gift—it’s a statement. You get to combine your love for crafting with the thrill of creating something truly one-of-a-kind. Plus, it’s a fun way to share your creativity with someone special.
Personalized DIY projects like this let you express yourself in ways store-bought gifts can’t. You can customize the design to reflect the recipient’s interests, making it extra meaningful. Even if they don’t own a car, this decal can still be a cool keepsake or decoration. And if you’re into Cricut crafting, this project is a fantastic way to put your skills to good use.
So, why settle for ordinary when you can create something extraordinary? This glowing decal isn’t just a gift—it’s a celebration of creativity, fun, and personal connection.









Key Takeaways
- Make a cool birthday gift with a glowing EVA Unit-01 car sticker. Customize it to match what the person likes.
- Collect materials like glow-in-the-dark vinyl, transfer tape, and a design guide to make crafting easier.
- Use a Cricut machine for neat cuts. If you don’t have one, a craft knife works too but takes more time.
- Change the decal design to make it special. Pick colors and sizes that fit the person’s car.
- Try your design on extra vinyl first. This helps prevent errors and makes sure it looks awesome.
- Clean the car surface well before sticking the decal. A clean surface helps it stick better and last longer.
- Charge the vinyl under bright light for a stronger glow. You can also add LED lights for extra brightness.
- Work in a clean space and prepare surfaces properly to avoid mistakes while crafting.
Materials and Tools for Your DIY Project
Before diving into the fun part of creating your glowing EVA Unit-01 car decal, you’ll need to gather the right materials and tools. Having the proper craft supplies on hand ensures your project goes smoothly and delivers professional-looking results. Let’s break it down step by step.
Essential Materials
Glow-in-the-dark vinyl sheets
Glow-in-the-dark vinyl is the star of this project. It’s what gives your decal that eye-catching glow, especially at night. Look for high-quality vinyl that’s durable and weather-resistant. Vinyl decals are known for their ability to withstand outdoor conditions, so you won’t have to worry about them fading or peeling off too soon.
Transfer tape
Transfer tape is a must-have for moving your design from the vinyl sheet to your car. It helps keep all the pieces of your decal in place, making the application process much easier. Choose a tape that’s clear and bubble-free for the best results.
EVA Unit-01 design template
You can’t create an EVA Unit-01 decal without a design template! Whether you download a pre-made template or sketch your own, make sure it’s detailed enough to capture the iconic look of Unit-01. Customizing the design adds a personal touch that makes your gift even more special.
Tools You’ll Need
Cricut cutting machine or craft knife
A cutting machine like the Cricut Maker is a game-changer for projects like this. It cuts vinyl with precision, saving you time and effort. If you don’t have a cutting machine, a sharp craft knife works too, though it requires more patience and a steady hand.
| Tool | Capabilities | User Feedback |
|---|---|---|
| Cricut Maker | Cuts various materials including vinyl, paper, fabric, leather, and more. | Recommended for accurate cutting, especially for those who dislike manual cutting. |
Weeding tools
Weeding tools help you remove the excess vinyl from your design. They’re especially useful for intricate details, ensuring your decal looks clean and professional. Tweezers or a weeding hook can make this step much easier.
Squeegee or credit card
A squeegee or even an old credit card is perfect for smoothing out your decal during application. It helps eliminate air bubbles and ensures the vinyl adheres evenly to the car surface.
Optional: LED strips or phosphorescent paint
Want to take your decal to the next level? Consider adding LED strips for a brighter glow or using phosphorescent paint to enhance the effect. Multi-purpose acrylic glow paint is durable and works well for outdoor projects. Applying multiple layers can make the glow even more vibrant.
Pro Tip: If you’re new to crafting, start with basic crafting tools and materials. As you gain confidence, you can experiment with advanced options like LED strips or custom paints.
Designing Your EVA Unit-01 Decal
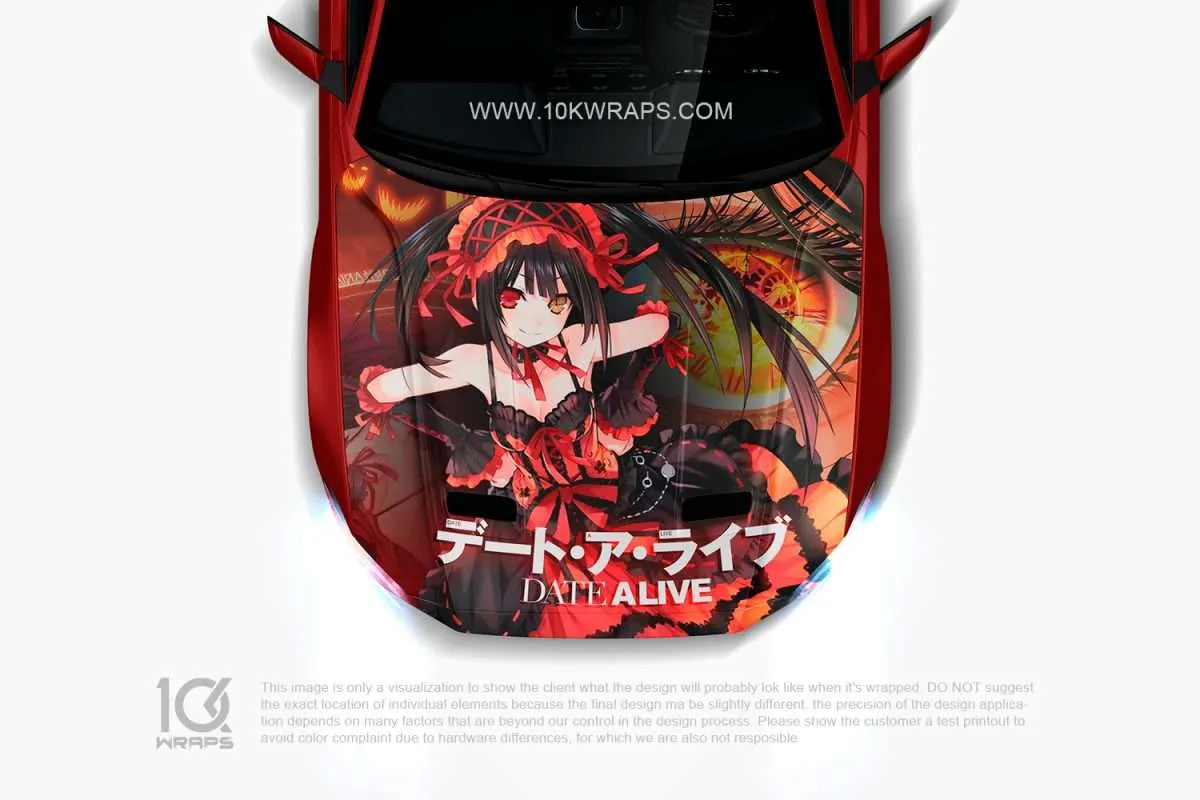
10KWRAPS
Choosing the Right Design
Sourcing EVA Unit-01 templates
Finding the perfect EVA Unit-01 template is the first step in creating a standout decal. You can explore online platforms like Pinterest, Etsy, or even fan art communities for high-quality templates. Many of these sources offer free or affordable options that you can download instantly. If you’re feeling adventurous, sketch your own design to make it truly unique. Just make sure the design captures the bold and futuristic vibe of EVA Unit-01.
When selecting a template, focus on clean lines and clear details. This ensures your cutting tool, like a Cricut, can handle the design without hiccups. Templates with too many intricate details might be challenging to cut and weed, especially if you’re new to crafting. Keep it simple yet striking for the best results.
Customizing the design for a personal touch
Once you’ve chosen a template, it’s time to make it your own. Personalization is what makes DIY projects so special. You can tweak the design to reflect the recipient’s personality or interests. For example, add their name, a favorite quote, or even a small symbol that holds meaning to them.
Think about the car’s color and style when customizing. Choose colors that complement the vehicle’s paint job for a cohesive look. You can also play with the size of the decal to fit the car’s surface perfectly. A balanced design with evenly distributed elements will look professional and polished. Don’t forget to use durable supplies to ensure your decal lasts for years.
Tip: If you’re unsure about your design, print a test version on paper first. This lets you see how it looks and make adjustments before cutting into your vinyl.
Preparing the Design for Cutting
Using Cricut Design Space or similar software
Now that your design is ready, it’s time to bring it to life using Cricut Design Space. This software is a must-have for Cricut users and makes the cutting process a breeze. Start by uploading your design into the software. If you’re using a pre-made template, ensure it’s in a compatible format like SVG or PNG.
Once uploaded, use the tools in Design Space to adjust the design as needed. You can resize, rotate, or even add layers to enhance the final look. The software also allows you to preview how the design will cut, so you can catch any potential issues early. If you’re not using a Cricut, similar software like Silhouette Studio can help you prepare your design for manual cutting.
Adjusting size and layers for precision
Precision is key when working on projects like this. In Cricut Design Space, you can fine-tune the size of your design to match the car’s surface. Measure the area where you’ll place the decal and input those dimensions into the software. This ensures the decal fits perfectly and doesn’t look out of place.
If your design has multiple colors or layers, separate them in Design Space. This makes it easier to cut each layer individually and assemble them later. Pay attention to the alignment of each layer to maintain the design’s integrity. Taking the time to adjust these details will save you headaches during the application process.
Pro Tip: Always double-check your settings in Design Space before cutting. Use the “Mirror” option if your design includes text to ensure it appears correctly on the final decal.
Cutting and Weeding the Vinyl
Once your design is ready, it’s time to bring it to life by cutting and weeding the vinyl. This part of the process is where your creativity starts to take shape. With the right tools and techniques, you’ll get clean, professional results that make your decal stand out.
Cutting the Design
Setting up your Cricut or cutting tool
To start, set up your Cricut or cutting tool properly. If you’re using a Cricut, load your glow-in-the-dark vinyl onto the cutting mat with the shiny side facing up. Make sure the mat is clean and free of debris to avoid any cutting issues. Select the correct material setting in Cricut Design Space, such as “Vinyl” or “Glow-in-the-Dark Vinyl,” depending on your supplies. This ensures the blade cuts at the right depth.
If you’re using a craft knife instead, secure the vinyl on a flat surface with tape to keep it steady. Use a ruler or stencil to guide your cuts for straight lines and precise edges. A steady hand is key here, so take your time.
Pro Tip: Always test your cutting settings on a small piece of scrap vinyl before cutting your actual design. This helps you avoid wasting supplies and ensures the blade is set correctly.
Ensuring clean and accurate cuts
Accuracy is everything when cutting your design. For Cricut users, double-check that the blade is sharp and clean. A dull blade can tear the vinyl, ruining your project. Once you hit “Go” in Cricut Design Space, watch the machine as it cuts to ensure everything runs smoothly.
If you’re cutting manually, use light, even pressure with your craft knife. Avoid rushing, especially around curves and intricate details. Clean cuts make the weeding process much easier later on.
Tip: If your design has multiple layers, cut each layer separately and label them to keep things organized.
Weeding the Vinyl
Removing excess material
Weeding is the process of removing the unwanted vinyl around your design. Start by peeling away the large, outer sections of vinyl. Use weeding tools like a hook or tweezers to lift the edges gently. Be careful not to pull too hard, as this can stretch or tear the vinyl.
For Cricut projects, the weeding process is usually straightforward if your cuts are clean. However, if you’re working with a more intricate design, take your time and work in small sections. This helps you avoid accidentally removing parts of the design you want to keep.
Managing intricate details effectively
Intricate details can be tricky, but with patience, you’ll get through it. Use a bright light or a weeding board to see the cut lines more clearly. This is especially helpful for glow-in-the-dark vinyl, which can be harder to see in dim lighting.
Here are some tips to make weeding easier:
- Avoid using overly complicated or distressed fonts for your first project. These can make the weeding process more challenging.
- Keep your weeding tools clean and sharp for better precision.
- Work slowly and check your progress frequently to ensure you’re not removing essential parts of the design.
If you need a hand, check out my guide on weeding vinyl. It’s packed with helpful tips for managing intricate designs.
Weeding might seem tedious at first, but it’s actually a lot of fun once you get the hang of it. Watching your design come to life as you remove the excess vinyl is incredibly satisfying. Plus, it’s a great way to practice your crafting skills and improve your technique.
Applying Transfer Tape and Attaching the Decal
Preparing for Transfer
Selecting the right transfer tape
Choosing the right transfer tape is crucial for a smooth application. You’ll want a tape that’s clear and easy to work with. Clear transfer tape lets you see your design as you position it, which is especially helpful for intricate projects like this one. Look for a tape with medium tack—strong enough to hold your vinyl but not so sticky that it’s hard to remove. Many crafting stores offer transfer tape specifically designed for vinyl projects, so you’ll have plenty of options to choose from.
Tip: If you’re unsure which tape to pick, test a small piece on scrap vinyl first. This helps you avoid any surprises during the actual application.
Applying tape without bubbles
Applying transfer tape without bubbles can feel tricky, but it’s easier than you think. Start by cutting a piece of tape slightly larger than your design. Lay the tape over the vinyl, starting from one edge and smoothing it down as you go. Use a squeegee or an old credit card to press the tape firmly onto the vinyl. This step ensures the tape adheres evenly and prevents air bubbles.
Here’s how to make the process even smoother:
- Use a soft-roller to spread pressure evenly across the tape.
- Work slowly and press firmly to avoid wrinkles or bubbles.
- If you spot any bubbles, gently lift the tape and reapply it while smoothing out the area.
Taking your time here will save you a lot of frustration later. Plus, it makes the next step—attaching the decal—much easier.
Attaching the Decal to the Car
Cleaning the car surface thoroughly
Before you attach your decal, make sure the car surface is spotless. Dirt, dust, or grease can prevent the vinyl from sticking properly. Use a mild soap and water solution to clean the area, then dry it with a lint-free cloth. For extra assurance, wipe the surface with rubbing alcohol to remove any remaining residue.
Pro Tip: Avoid applying decals in extreme temperatures. Vinyl adheres best when the surface is between 50°F and 90°F.
A clean surface ensures your decal sticks securely and lasts longer. It’s a small step that makes a big difference in the final result.
Positioning and securing the decal
Positioning your decal correctly is key to making it look professional. Start by holding the decal (with the transfer tape still attached) against the car to find the perfect spot. Consider the visibility of the decal and its alignment with the car’s design. Eye-level placement works best for important details, while smooth, flat surfaces ensure the vinyl adheres evenly.
Once you’ve found the right spot, secure the decal by taping the top edge to the car. This creates a hinge that keeps the decal in place while you work. Slowly peel away the backing paper, pressing the vinyl onto the car as you go. Use a squeegee to smooth out the decal and remove any air bubbles.
Here are some quick tips for perfect placement:
- Measure the area beforehand to ensure the decal fits well.
- Align the design with the car’s natural lines for a cohesive look.
- Double-check the positioning before securing the decal.
Taking your time with this step ensures your decal looks polished and professional. Plus, it’s a fun way to see your hard work come to life!
Making Your EVA Unit-01 Decal Glow
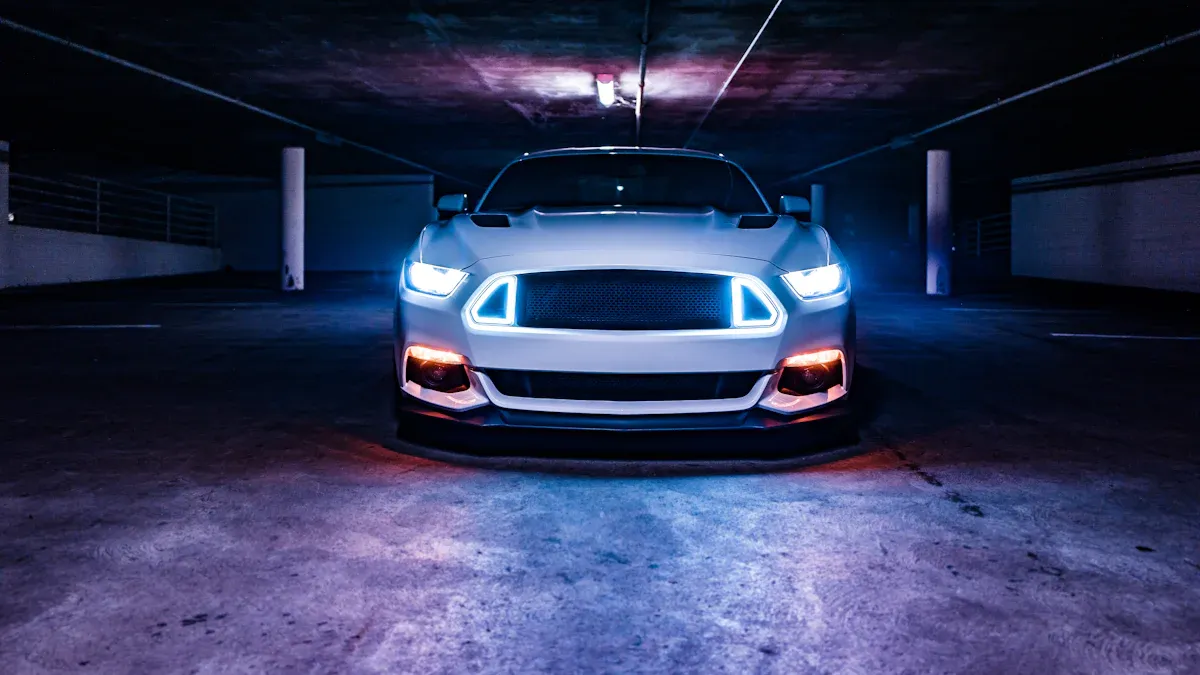
Now comes the exciting part—making your EVA Unit-01 decal glow! Whether you’re using glow-in-the-dark vinyl, LED strips, or phosphorescent paint, this step will take your project to the next level. Let’s explore how you can achieve that stunning glow effect.
Glow-in-the-Dark Vinyl Techniques
Maximizing the glow effect
Glow-in-the-dark vinyl is a fantastic material for crafting decals. To get the best results, you’ll want to maximize its glow. Start by “charging” the vinyl under a bright light source. Natural sunlight works wonders, but a UV flashlight can also do the trick. The longer you charge it, the brighter and longer it will glow.
Placement matters too. If you’re applying the decal to a car, choose a spot that gets plenty of light exposure during the day. This ensures the vinyl absorbs enough energy to shine brightly at night. For indoor projects, consider placing the decal near a light source.
Tip: Store your glow-in-the-dark vinyl in a cool, dark place to preserve its glowing properties.
Where to purchase high-quality materials
Not all vinyl is created equal. For a long-lasting glow, invest in high-quality supplies. Look for brands that specialize in crafting materials, as they often offer durable, weather-resistant options. Online stores like Amazon, Cricut’s official site, or specialty craft shops are great places to start. Always check reviews to ensure you’re getting a product that’s worth your money.
Adding LED Strips for Enhanced Glow
Choosing durable, waterproof LED strips
If you want to take your decal to the next level, LED strips are a game-changer. They provide a consistent, vibrant glow that outshines traditional vinyl. When choosing LED strips, go for waterproof and durable options, especially for outdoor use. Look for features like customizable colors and easy installation.
Here’s a quick comparison of customer feedback and technical features to help you decide:
| Customer Feedback | Technical Features |
|---|---|
| “Awesome kit! Excellent underglow for my motorcycle.” | “Very bright at night, waterproof, customizable with millions of colors.” |
| “Great lights! Really good set of lights for my bike.” | “Quick installation, almost plug and play.” |
| “Love the product and the Customer Service!” | “Brake light feature and turn signals for safety.” |
| “Way better than I thought!” | “Responsive app, easy to adjust settings.” |
| “Rgbic addressable led. Bright and customizable.” | “Simple installation with clear instructions.” |
Attaching LEDs seamlessly
Attaching LED strips might sound tricky, but it’s easier than you think. Start by measuring the area where you’ll place the strips. Cut the LED strip to the desired length, following the manufacturer’s guidelines. Use adhesive backing or mounting clips to secure the strip along the edges of your decal.
For a seamless look, hide the wiring behind the car’s panels or use cable organizers. Connect the LED strip to a power source, such as your car’s battery or a portable power bank. Test the lights before finalizing the setup to ensure everything works perfectly.
Pro Tip: Use a remote-controlled or app-enabled LED strip for easy customization.
Using Phosphorescent Paint
Applying paint for a glowing finish
Phosphorescent paint is another fun way to make your decal glow. Start by applying a primer to the surface. A white primer works best, as it reflects light and enhances the glow. Use a small brush or sponge to apply the paint in thin, even layers. For the best results, layer the paint up to five times, letting each coat dry completely before adding the next.
Here’s a breakdown of techniques and their benefits:
| Application Technique | Benefit |
|---|---|
| Use of multiple layers | Enhances glow intensity and evenness |
| Appropriate primer selection | Maximizes glow by reflecting light (white primer) |
| Layering up to 5 times | Increases durability and brightness of the glow |
| Quick drying time | Allows for faster application and layering (dries in under 2 hours) |
Sealing the paint for longevity
To protect your glowing masterpiece, seal the paint with a clear, weather-resistant topcoat. This step prevents the paint from chipping or fading over time. Choose a sealant that’s compatible with phosphorescent paint and suitable for outdoor use. Apply it in thin layers, allowing each coat to dry before adding the next.
Tip: Avoid harsh cleaning agents on the sealed decal to maintain its glow.
With these techniques, your EVA Unit-01 decal will shine bright and turn heads wherever it goes. Whether you’re using vinyl, LEDs, or paint, the glow effect adds a magical touch to your project.
Tips for Success and Avoiding Mistakes
When working on DIY projects like your glowing EVA Unit-01 car decal, a little preparation goes a long way. By following these tips, you’ll avoid common mistakes and make the process more enjoyable. Let’s dive into some best practices and pitfalls to watch out for.
Best Practices for DIY Decals
Testing designs on scrap vinyl
Before cutting into your main vinyl sheet, test your design on a scrap piece. This step helps you check the size, alignment, and cutting settings. It’s especially useful if you’re using a Cricut machine. Testing ensures your blade depth and pressure are just right. Plus, it gives you a chance to practice weeding and transferring the design. Think of it as a warm-up for the real thing.
Tip: Save leftover vinyl from previous projects for testing. It’s a great way to reduce waste and save money on supplies.
Working in a clean environment
A clean workspace is essential for crafting. Dust, pet hair, or even crumbs can stick to your vinyl and ruin the adhesive. Before starting, wipe down your table and tools. Keep your supplies organized so you can easily find what you need. A clutter-free space not only improves your results but also makes the process more fun and stress-free.
Pro Tip: Use a lint roller to quickly clean your workspace before laying out your vinyl.
Common Pitfalls to Avoid
Skipping surface preparation
One of the biggest mistakes you can make is skipping surface prep. If the car’s surface isn’t clean, the vinyl won’t stick properly. Dirt or grease can cause peeling or bubbling, ruining your hard work. Always clean the area with soap and water, then wipe it down with rubbing alcohol. This step ensures the adhesive bonds securely to the surface.
Here are some quick reminders to avoid issues:
- Gently heat up the sticker to remove it from one corner if repositioning.
- Avoid touching the vinyl adhesive to keep it effective.
- Remove the vinyl backing slowly to save time and prevent tearing.
Using incompatible materials
Not all supplies work well together. For example, using a strong adhesive vinyl like Oracal 651 on a painted surface can damage the paint when removed. Instead, opt for a less aggressive adhesive, such as Oracal 631, for temporary decals. Also, make sure your transfer tape is compatible with your vinyl type. Testing on scrap materials can help you catch these issues early.
Tip: If you’re applying the decal to an inside window, remember you don’t need to mirror the design unless it includes text.
By keeping these tips in mind, you’ll set yourself up for success. Crafting your glowing EVA Unit-01 decal should be a fun and rewarding experience, not a frustrating one. With a little care and attention, your project will turn out amazing!
Creating a glowing EVA Unit-01 car decal is easier than you think. You’ve learned how to gather supplies, prepare your design, cut and weed vinyl, and apply it flawlessly. Adding glow-in-the-dark effects or LEDs makes it even more exciting. This project isn’t just about crafting—it’s about making something personal and fun. Whether you’re using a Cricut or crafting by hand, the process is rewarding. So, why not give it a try? You’ll love the joy of turning simple supplies into a unique gift that truly stands out.
Remember: The best gifts come from the heart—and a little creativity.
FAQ
What is the best vinyl for this project?
Glow-in-the-dark vinyl works best for this project. It’s durable, weather-resistant, and perfect for outdoor use. Look for high-quality options from trusted craft supply stores to ensure your decal lasts longer and glows brightly.
Can I make this decal without a Cricut machine?
Yes, you can! A sharp craft knife works as an alternative. However, a Cricut machine makes cutting intricate designs easier and more precise. If you’re new to crafting, consider starting with simpler designs when cutting manually.
How do I avoid bubbles when applying the decal?
Use a squeegee or credit card to smooth the vinyl as you apply it. Start from one edge and work your way across. Press firmly and move slowly to push out any air bubbles for a clean finish.
Where can I find EVA Unit-01 design templates?
You can find templates on platforms like Pinterest, Etsy, or fan art communities. Many offer free or affordable options. If you want a personal touch, sketch your own design or customize an existing one.
How do I make the decal glow brighter?
Charge the glow-in-the-dark vinyl under a bright light source, like sunlight or a UV flashlight. For an enhanced glow, consider adding LED strips or using phosphorescent paint. These options make your project even more fun and eye-catching.
What supplies do I need for this project?
You’ll need glow-in-the-dark vinyl, transfer tape, an EVA Unit-01 design template, and tools like a Cricut machine or craft knife. Optional supplies include LED strips or phosphorescent paint for added glow effects.
Can I use this decal indoors?
Absolutely! While it’s designed for cars, you can apply it to any smooth surface, like windows or walls. It’s a versatile craft project that works as a decoration or keepsake.
How do I clean the car surface before applying the decal?
Use soap and water to remove dirt and grease. Dry the area with a lint-free cloth, then wipe it with rubbing alcohol for extra cleanliness. This ensures the vinyl adheres properly and lasts longer.